
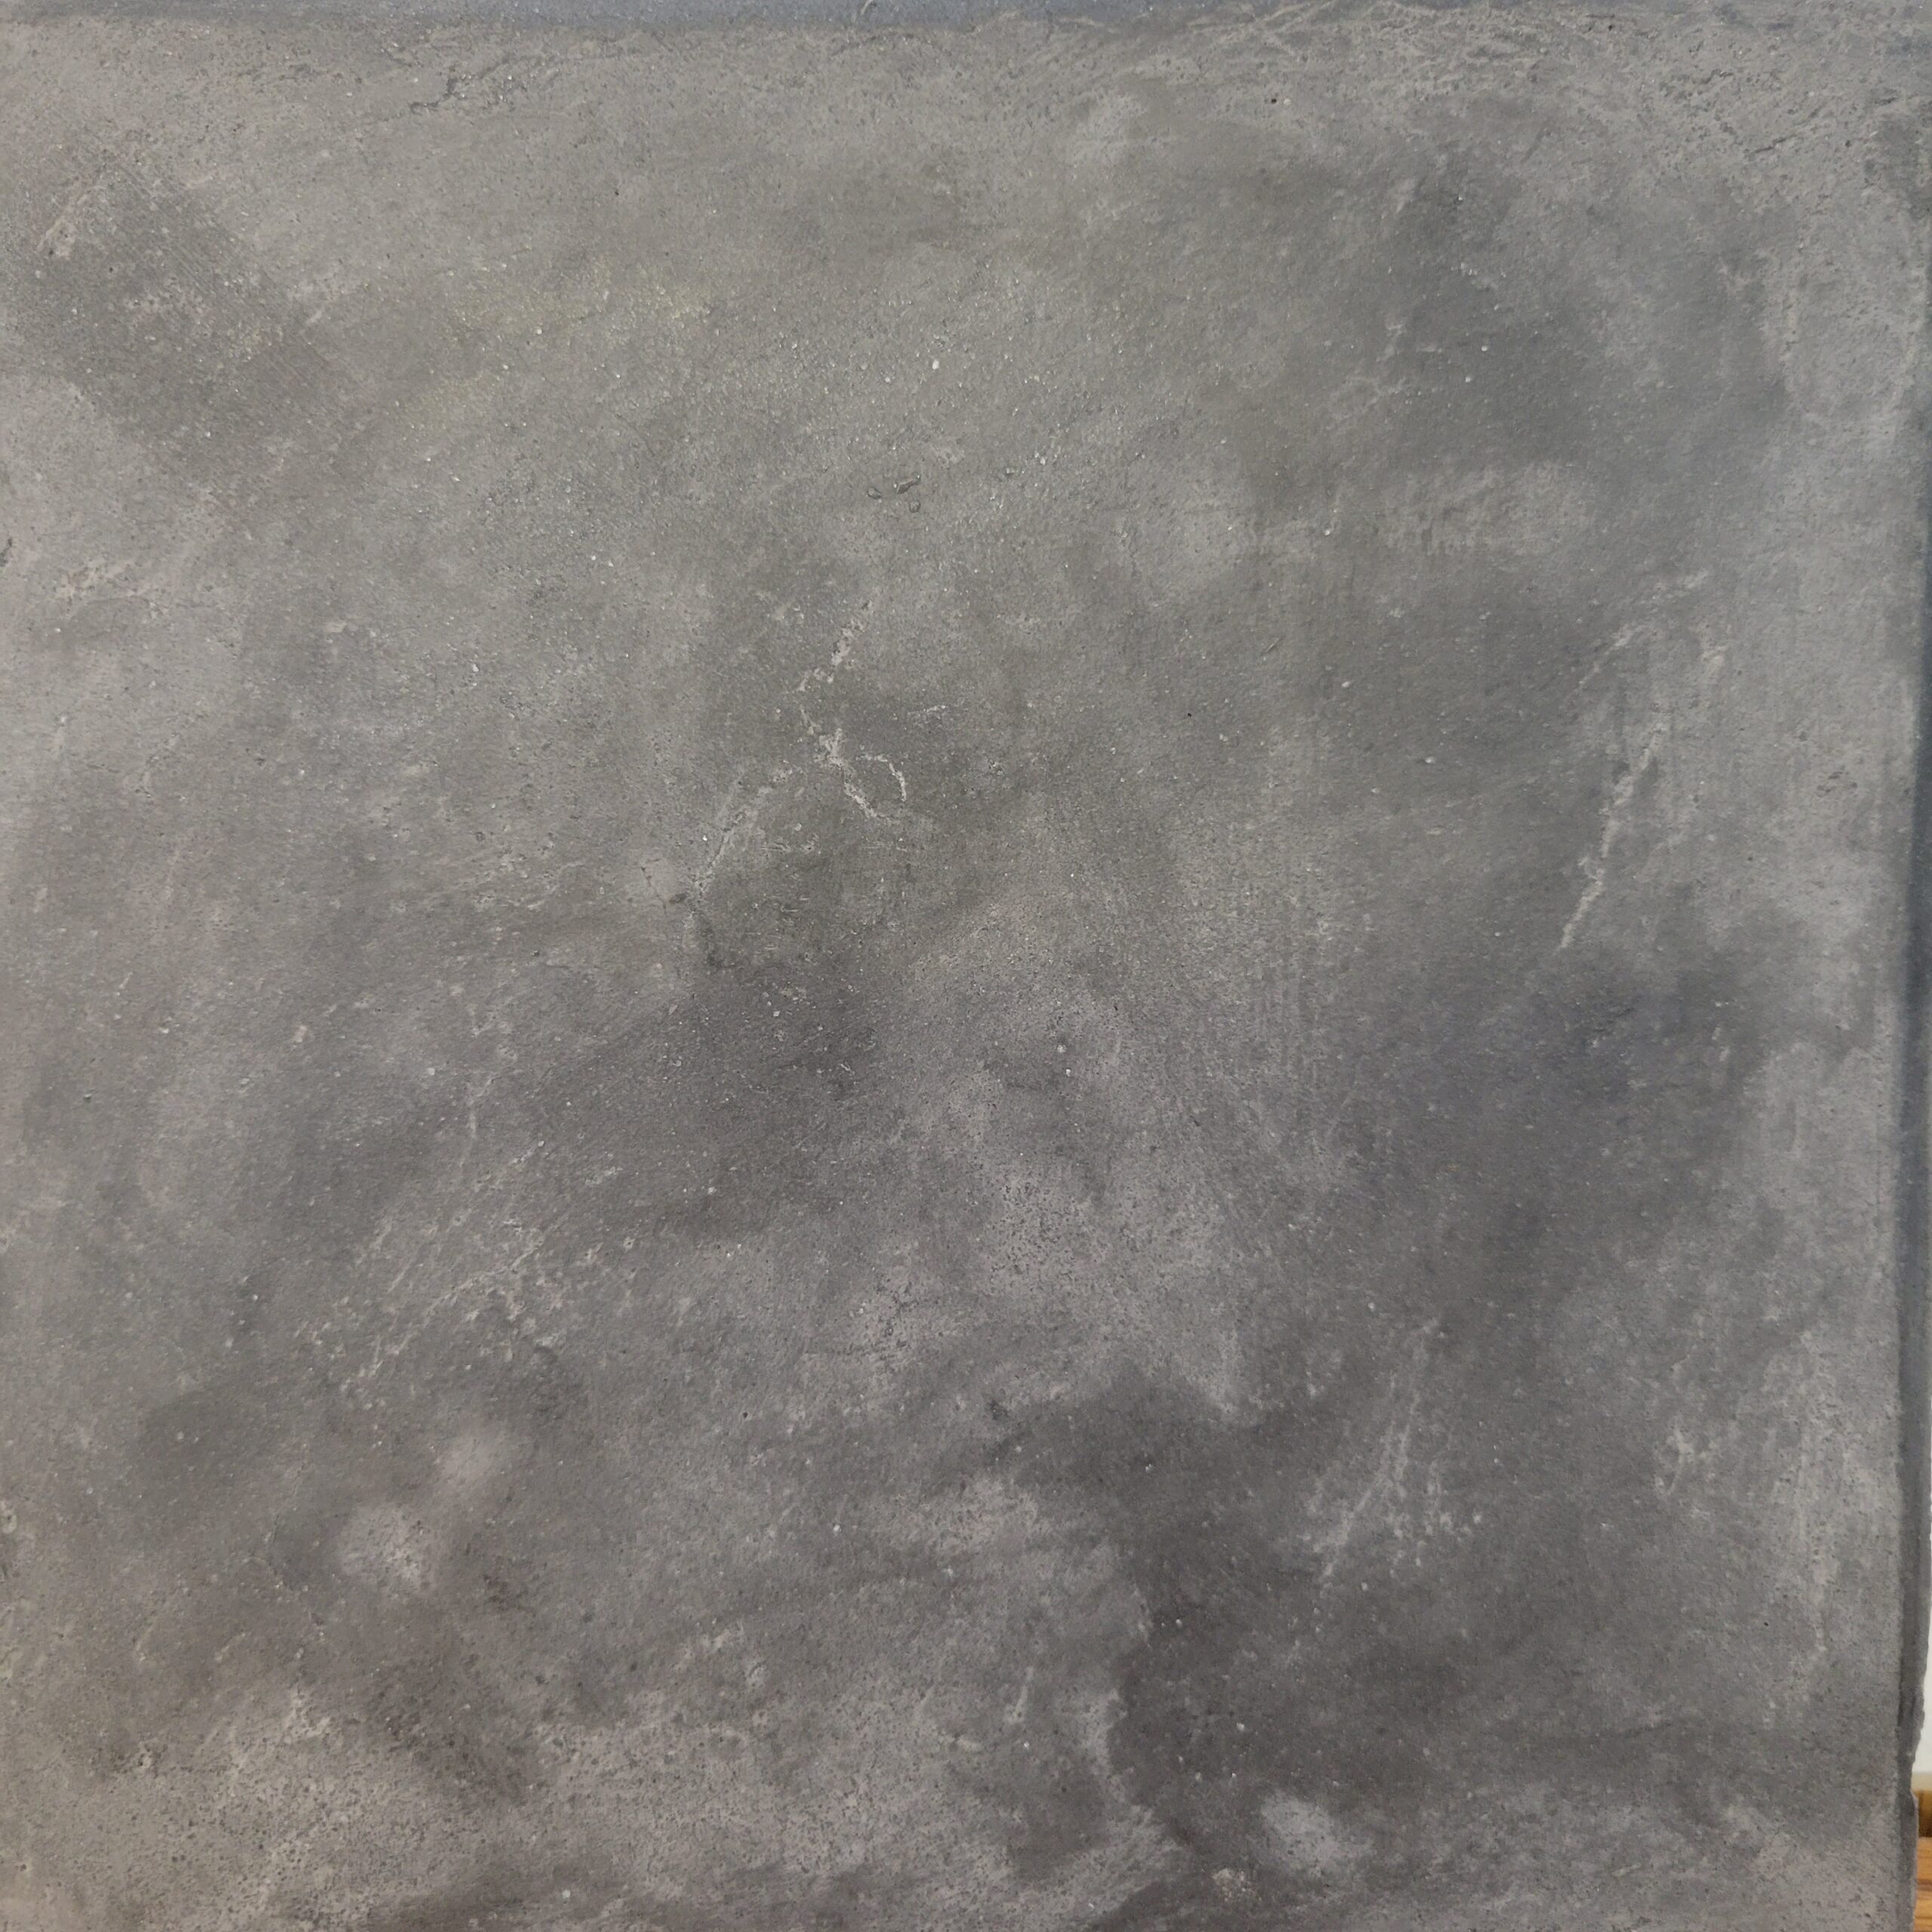
Tadelakt is one of the lost arts of our generation that has been slowly making its return to the building industry.
This product has been researched by Trevor for over a decade and he has always been fascinated by its unique properties and beauty.
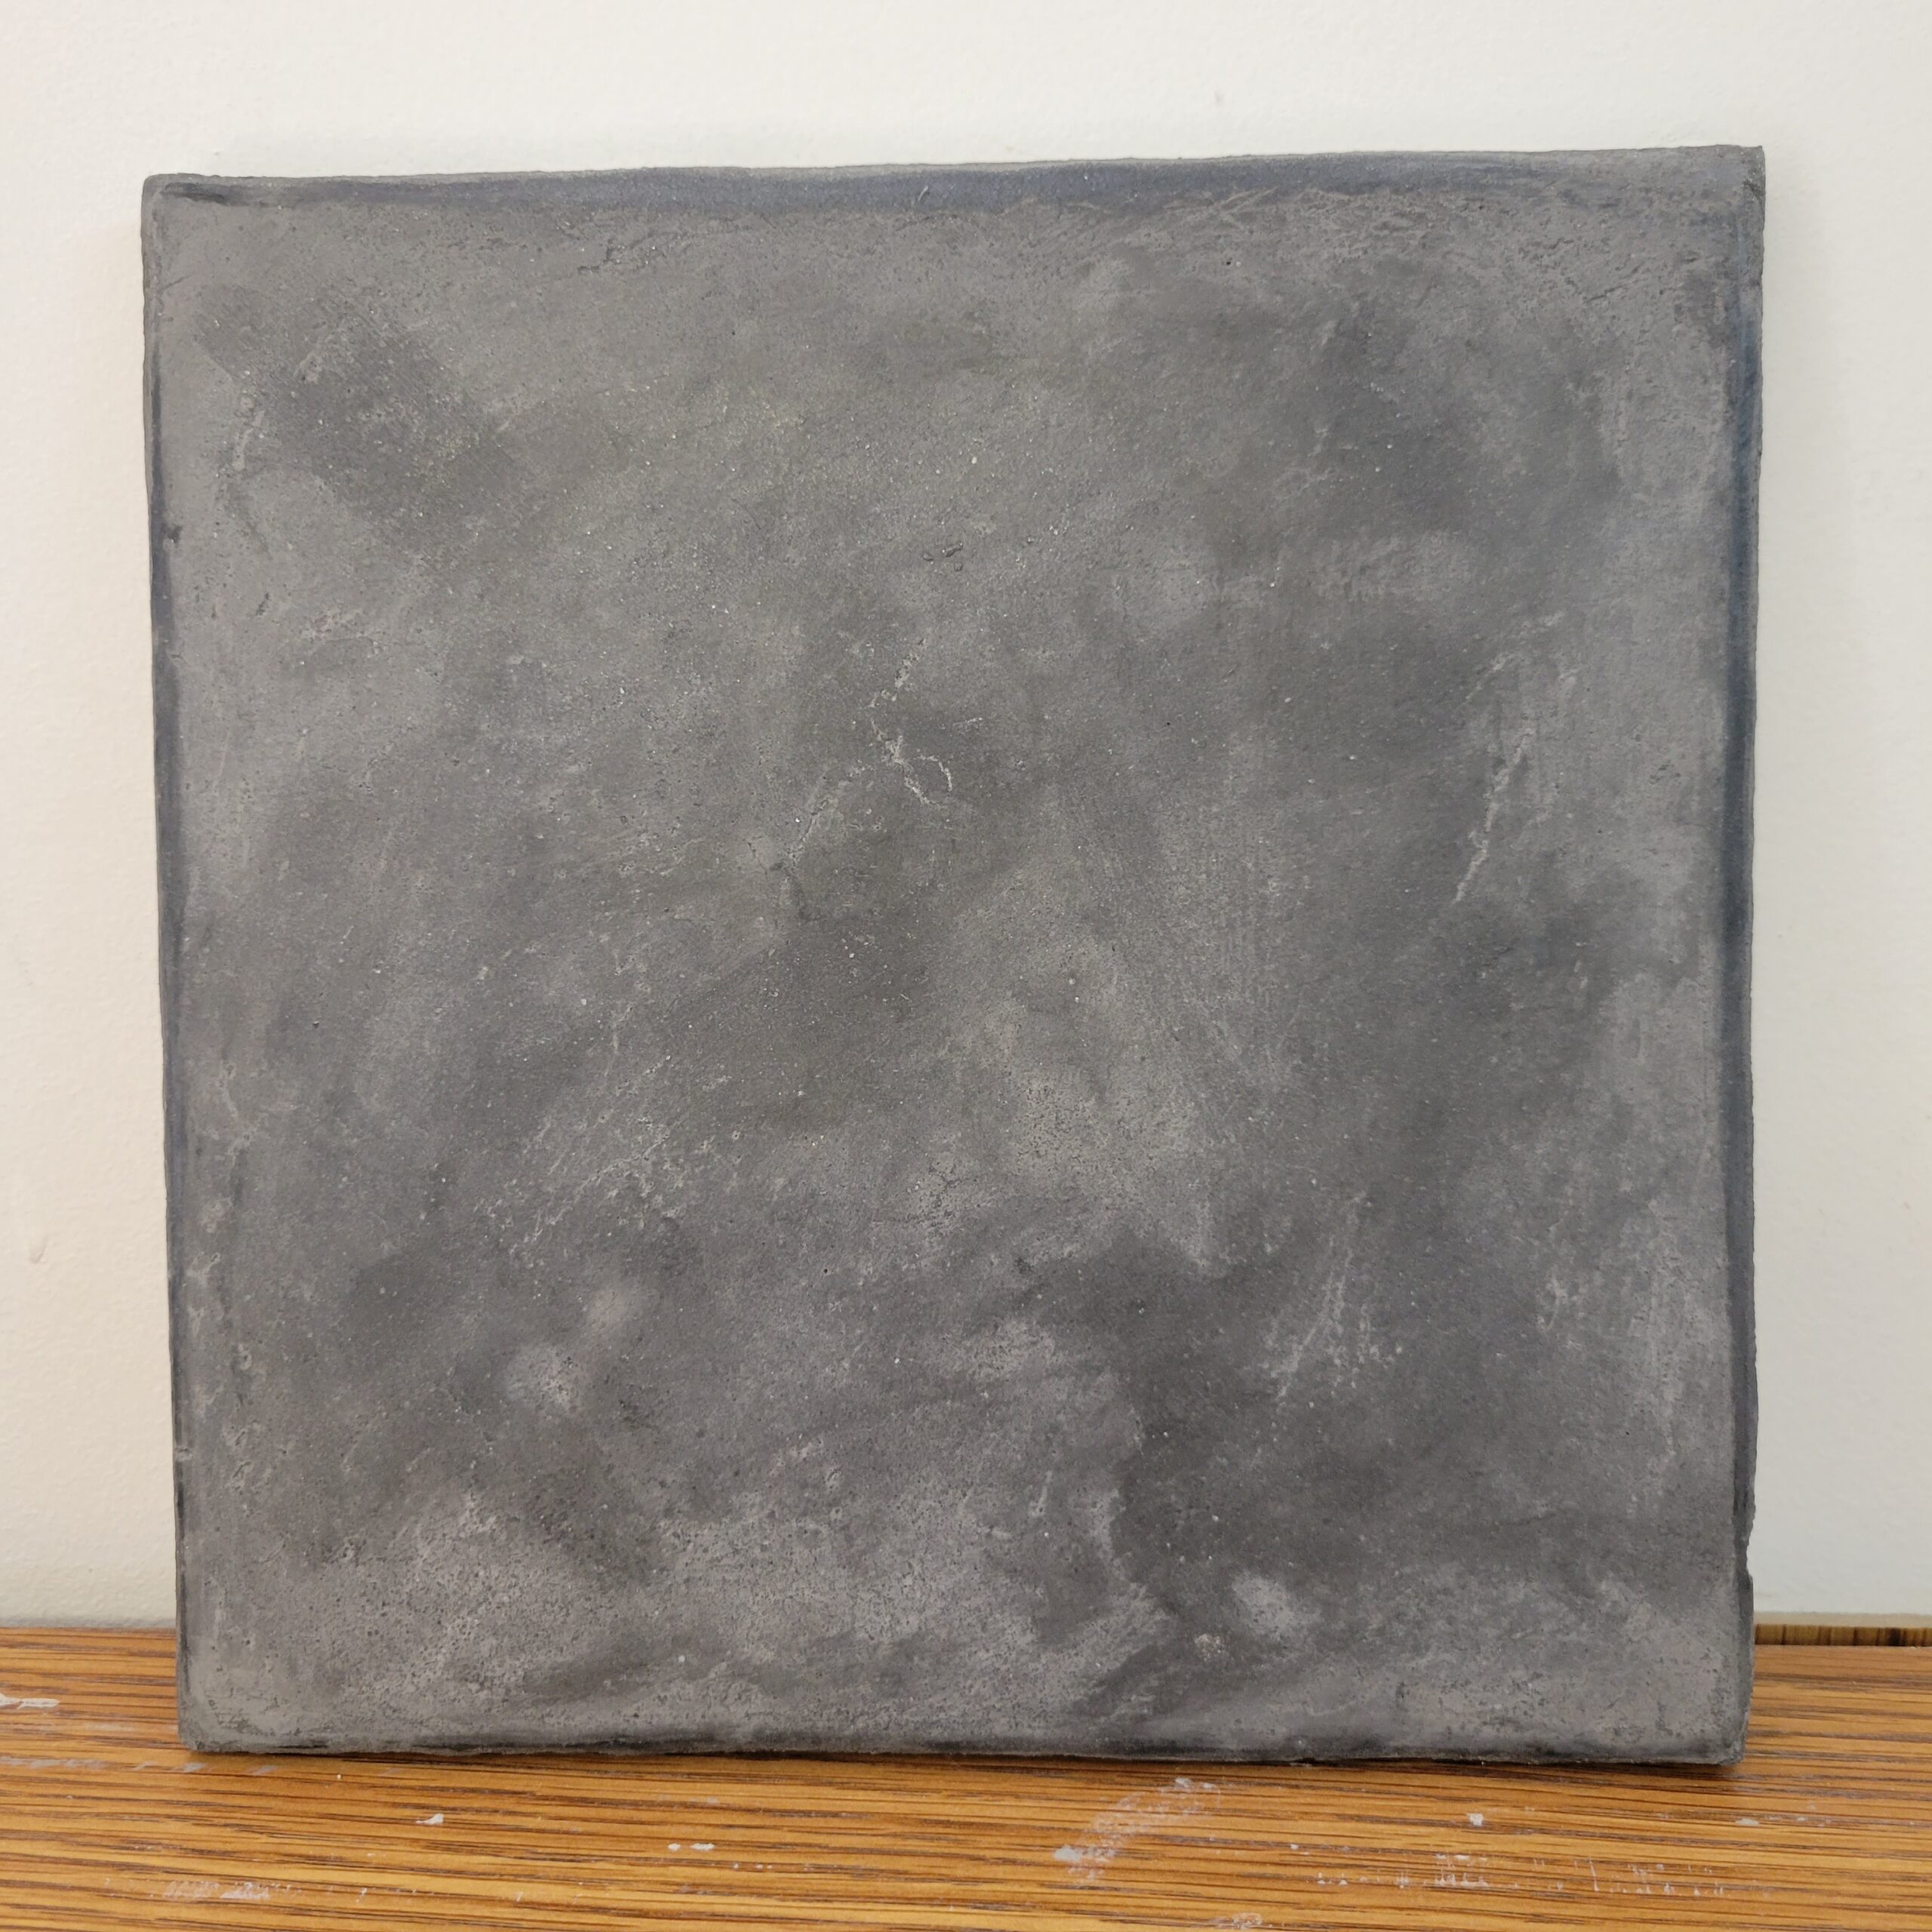
It is our great pleasure to finally offer this product to you but we do caution that Tadelakt does require a lot of care and attention to detail and will not function long term without the installer properly practicing and learning how to use the product prior to installation.
If you leave the surface too unburnished or with pores that are open, water will erode the finish over time.
The formulation of this Tadelakt is 100% natural and does not contain any hidden additives whatsoever.
The Tadelakt is composed of AHL (artificial hydraulic lime), fine marble sand, methylcellulose all in very specific ratios to ensure a strong, workable, easily applied, and shiny surface.
The Tadelakt System starts with our Tadelakt Adhesion coat that provides a junction between your waterproofing layer and the 100% natural basecoat layer. The Adhesion coat ensures a strong bond to the waterproofing or quartz primer over drywall, ensuring an authentic install and a traditional look. The Tadelakt Adhesion coat is applied with a trowel and then raked horizontally using an 1/8th inch v notch groove trowel or stucco Scarifer. These tools will ensure a constant depth is achieved and provides a solid key for the basecoat plaster to set into as it does not have any man-made polymers to provide extra adhesion.
Tadelakt Adhesion Coat is made of White cement, sand, pozzolan, polymers, rheology modifiers etc. and is not 100% natural. No Tadelakt system for modern materials can be used without an adhesion coat unless you are willing to make the entire area with sand and cement and allow to dry and cure for a min of 30 days.
The next step is to use our Tadelakt Basecoat product that is composed of AHL (artificial hydraulic lime), coarse marble sand and methylcellulose. The product is 100% authentic, pure and does not contain any hidden additives. The ratios of specific types of lime, pozzolan, cellulose and marble create the perfect product that will dry hard, not be dusty and will adhere to the adhesion coat with great strength.
After the Adhesion coat has fully dried, the Basecoat is applied in two layers allowing at least 12 hours between each layer. The first layer is made into a keycoat using a thinner metal comb by marking the plaster in cross hatch patterns across the wet wall. The second coat of basecoat creates a more even and refined finish that is left semi smooth so to still allow the final Tadelakt layers to adhere.
Recommended for areas that are stable, sound and not flexible with moving joints.
Recommended for residential shower walls and floors, ceilings, fireplaces, backsplashes etc
Tadelakt Coverage – How Much to Buy
Depending on surface conditions, a 20 kg of Tadelakt Adhesion coat will cover 120-200 sq ft one coat, and 20 Kg of Tadelakt Basecoat will cover 80-120 sq ft one coat. Tadelakt will cover between 120-150 sq ft in three coats wet on wet.
How to Apply Tadelakt
Use our ultra flexible stainless-steel trowel to apply the Tadelakt adhesion coat and basecoat, and a small plastic trowel and or small Inox burnishing trowel to apply the Tadelakt layers.
Suitable Applicable Surfaces
Apply Tadelakt over substrates that are clean, cohesive, free of contamination and as follows:
Gypsum Drywall: (Interiors Only) Drywall should be taped and smoothed to a level 4 finish. Use our Quartz primer interior watered down 30% over new drywall to help seal and consolidate the surface. Then apply a second layer of Quartz primer without adding any extra water to provide a surface that will provide a permanent bond to our plasters and perfect junction between drywall and plaster. Standard PVA primer can also be used if a painting company is coming in before you. You can apply only one coat of quartz primer. Let dry at least 1 hour prior to application or until dry to the touch.
Existing painted substrates: Always prime first with a recommended primer. If the surface is oil based or glossy, use a high adherence primer for bonding to difficult surfaces. Then apply one coat of our quartz primer prior to application and let dry at least 1 hour or until dry to touch.
Existing Texture: It is recommended to remove the texture via sanding or grinding, or to cover it up first with drywall compound etc to ensure a smooth and problem free substrate. Then prime with our quartz primer with 30% water, and one coat of quartz without adding extra water.
Shower over cement board: Apply one coat of our exterior quartz primer coarse with 50-100% water, then one coat of the same primer undiluted. Apply all external corner bead, either using EIFS plastic corners, found at stucco yards, with or without fiberglass reinforcing attached to the edges, or metal drywall corners. It is not recommended to use paper faced angles. You can screw and fix the angles properly at this point using cement board screws specific for this purpose. Apply primer to all angles before applying your first coat of Tadelakt adhesion coat. Apply two coats of Tadelakt adhesion coat ensuring a smooth and even finish. Once dry apply two coats plus mesh over any transition areas of Ardex 8 + 9 waterproofing.
If there are no areas requiring angles etc. and they are flat walls, you can simply waterproof with Ardex 8 + 9 first and then apply Tadelakt Adhesion coat. We do not recommend Redguard or any roll on products that do not contain a cementitious component.
You can also decide to simply mesh over all edges with stucco adhesive mesh tape or alkaline eifs mesh to form stronger rounded edges that are flowing and hand made.
Interior tiles on walls: Check all tiles are affixed to the substrate and there are no loose, popped, or broken tiles. If there is any chance the tiles are not properly installed, then you must remove the tiles and should not proceed as the Tadelakt will use these as its substrate. Clean and scrub the tiles and ensure they are very clean. Then apply Ardex p82 primer, Mapei eco-prim or any other primer designed for tile over tile priming. Please check and test your primer and ensure it is strong enough for your application. Ardex p82 is our preferred primer for interiors as it’s a two component water based epoxy that binds tenaciously.
Exterior walls: If the surface is previously painted, acrylic stucco, California stucco etc., then check the integrity of the surface, pressure wash and scrape clean any loose areas. If there is mold or mildew remove with appropriate cleaners and apply a stain blocking primer. Then apply one coat of our exterior quartz primer coarse or fine prior to applying Tadelakt adhesion coat. If the surface is new brown coat, ensure it has dried for at least 30 days, then apply Tadelakt Basecoat directly to the new brown coat.
Shower floor new or over tiles: If the floor is existing tiles, refer to interior tiles section and apply Ardex p82 or preferred primer. If the substrate is a new build material, ensure that the plumber or tiler on site ensures the drain install is designed so the drain is flush after the waterproofing and flood test is performed, to ensure your finish will easily apply just slightly above the drain. Most installs are designed for tiles, and the tile drain set up is left up to account for the installation of tiles and will not work for Tadelakt. It is best to have the plumber or tiler lay the substructure of the shower floor, install the drain, and waterproof with Ardex 8 + 9, flood test and have it certified for use. After this you can begin your install for the walls and floors etc and perform your own waterproofing for the walls.
It is recommended to use a product that is a rapid set polymer modified hard pack such as custom building products speed slope rapid setting sloping mortar, to set the design the floor and drain as a finished level and product. The Tadelakt will overlay this and bring the height up around 6 to 8mm around the drain.
Always use a roll on membrane like Ardex 8 + 9 as your waterproofing agent as Kerdi membrane can have bubbles and air pockets in its installation that can cause issues with the Tadelakt system.
PRODUCT PREPARATION
Never use more than one dry mix for an entire wall surface as the color for the mix will not match perfectly. Please add 1 part water to 1 part powder tint first to hydrate the tint fully prior to adding into the Tadelakt. Always use the same amount of water for each mix of your topcoat of plaster. Never mix water into the plaster if its thicker during application as this will cause the plaster to change color due to a higher hydration rate. Doing this will cause the material to dry to a different color. You must mix only what is needed and mix the entire material using some extra water at the start to ensure the mix will be wet enough as it starts to set later in the bucket.
MIXING
Mix one bag of plaster Tadelakt Adhesion coat with around 25-30% water, mixing the product thicker to begin with, and adding water until you reach the desired consistency. The product should hang on your trowel but still easily spread. The Tadelakt basecoat should be mixed to the thickness of peanut butter and be thick enough to fill and cover the deep notches in the Tadelakt adhesion coat. The Tadelakt should be mixed a little thinner, with around 30% water, making a smooth creamy paste that is easily spreadable.
PRECAUTIONS:
It is very important to practice and learn the system very well prior to installation. If you do not have any experience with lime-based finishes, it is recommended to buy the materials and do a lot of practice boards first to understand the steps, sealing with the soap, burnishing etc.
You should be comfortable with how to achieve a proper waterproof shower area, how to apply the finishes in the correct order with dry times, how to apply, burnish and close the pores of the Tadelakt, and finally how to soap and seal the product correctly.
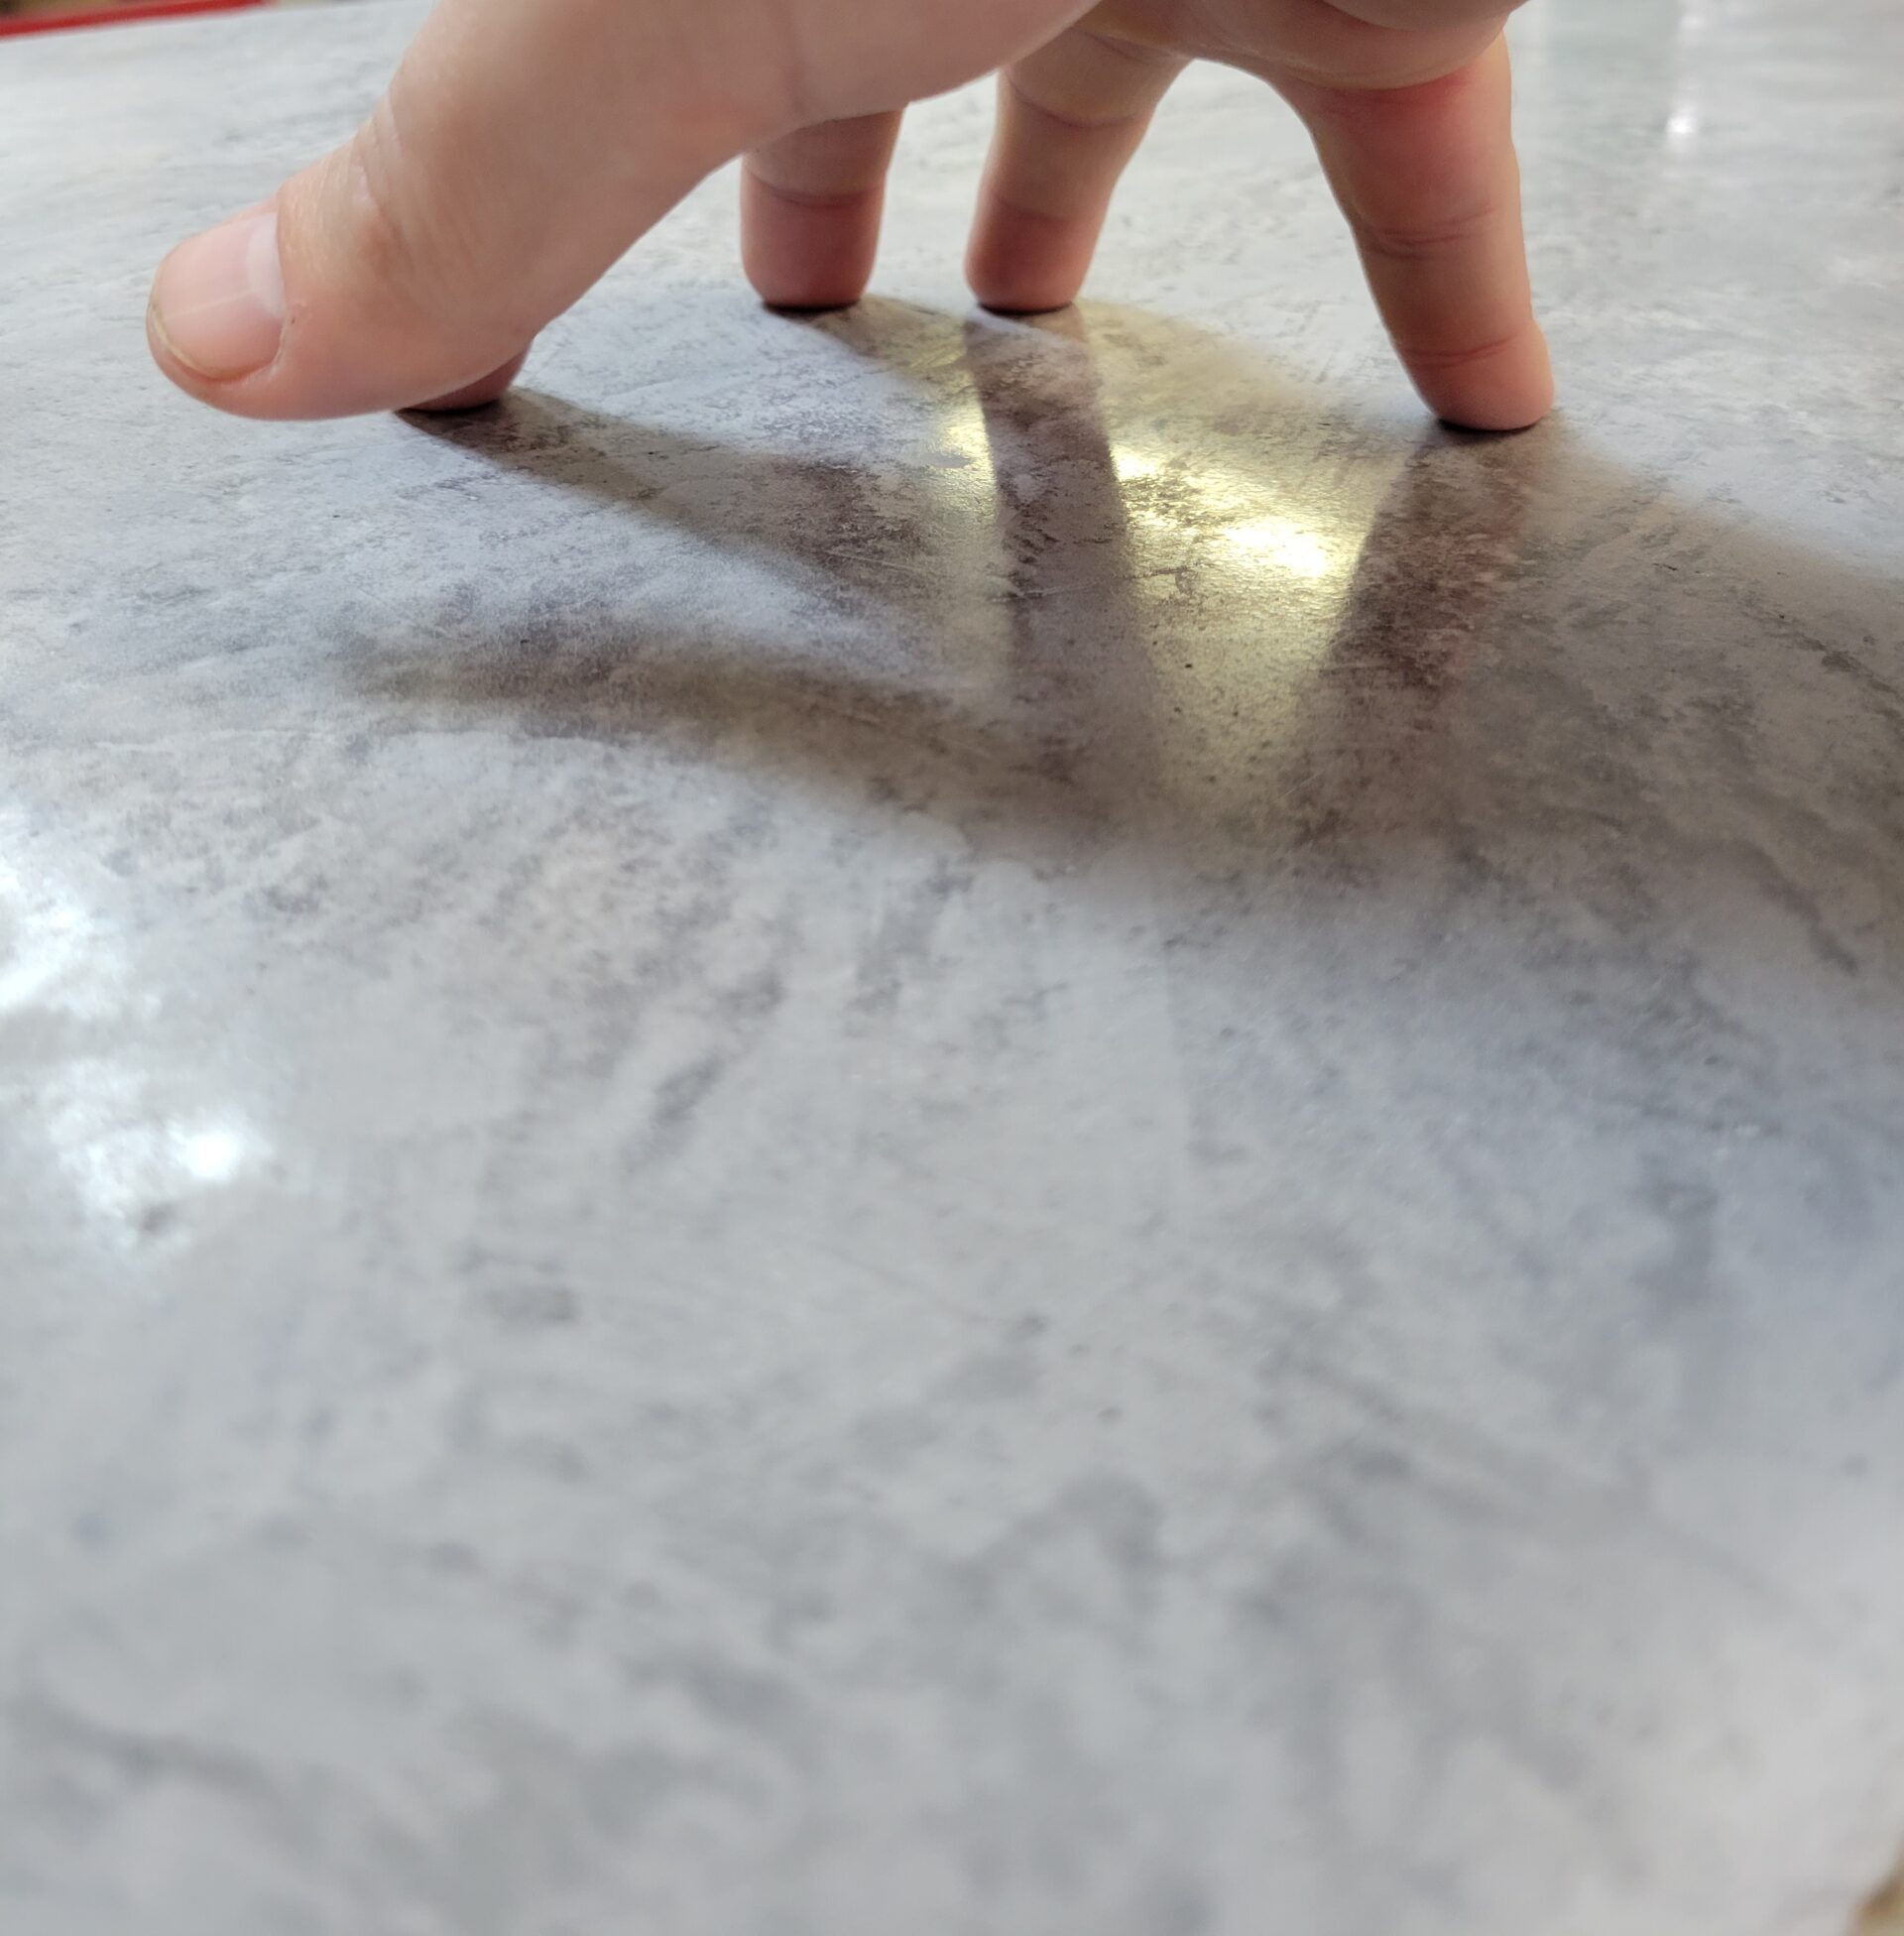
All lime finishes are inconsistent and will produce a different result each time, and hairline cracks, micro cracks, color variations, stains, darkening of the walls when wet are all possible outcomes of each install. Tadelakt does best when in an areas where water will not stand for long periods of time like a swimming pool or an area where there is not correct drainage etc.
PRODUCT APPLICATION:
After the walls and or floor have been all finished with the Ardex 8 + 9 you can install your first layer of Tadelakt adhesion coat. This layer should be mixed relatively stiff and then applied to the waterproofing and using either a plaster scarifier or 1/8th inch v notch trowel create horizontal grooves in the plaster. Keep the thickness of the grooves around the 5 to 6 mm range. Do not apply too much plaster as you only want a good key for the plaster and excess plaster is not required. Allow this to fully dry and do not apply your basecoat until all areas of this plaster adhesion coat are fully cured. This could take two days to cure depending on humidity and air flow.
When using either of the above notch options you want to ensure the walls are very tidy and do not have too many raised sections and extra plaster left sticking up etc. You can tape the scarifier just below the depth you want to help in spreading and smoothing the plaster. After this layer is dry, you need to scrape any excess and raised areas to prepare for the Basecoat application. You can use rough sand paper or even an orbital sander to get it smoothed down and remove and blobs etc. left especially on the edges and corners.
Now mix the Tadelakt Basecoat to a peanut butter consistency and apply it firmly over the walls to cover all the grooves and notches and create a somewhat smoother surface at this point. You do not want to add too much Basecoat only enough to cover the grooves plus an extra mm or two over to help in smoothing the walls out. You can use the flexible basecoat trowel to apply the plaster and then when its smoothed down enough, take a metal hair pick and run it very gently over the wall creating cross hatch patterns over the entire surface. These new smaller patterns will help to key in the second basecoat once this dries. Do not make these very deep at all and don’t allow the edges to start building up when you run the pick through the plaster or these will create large ridges in your wall.
Once this layer has dried, typically 1-2 days, then apply the second layer of Tadelakt Basecoat plaster using the flexible Venetian plaster trowel and as it begins to dry, you can sponge or hard float the walls to make them more smooth and compact. The final surface before it fully dries should be troweled down to ensure the grains are not left sticking up and raised as the Tadelakt finish coats will not be able to cover this texture. Do not burnish the Basecoat or smooth it too much, just lightly compress the grains back into the wall before letting it fully dry. Typical dry time 1 day.
The Tadelakt finish coat can be mixed several days prior to installation and allowed to fully hydrate and start to set through its Pozzolanic reaction. The Tadelakt can be mixed at the start of the project and colored and left to sit with a closed lid. Do not mix it too wet at this point as you will want to add a little extra water to bring it back to a smooth consistency.
The Tadelakt should be creamy and easy to spread but still have body to it. Always soak your pigments in water prior to adding them to the Tadelakt to stop streaking and or color burst etc. The Tadelakt should be mixed with some water in the bucket first, adding only a 1/3 of the mix, then adding another third and more water, and at this point you can add the last amounts of plaster and water and make sure its still a stiff mix. Before the Tadelakt is fully mixed you can add your now liquid tint and continue mixing until the final thickness is achieved, adding small amounts of water each time. You will want to use a proper low speed plaster mixing drill for best results and mix for several minutes to achieve a uniform consistency.
Apply the Tadelakt to the first wall using either a medium or small plastic trowel or small burnishing trowel. This is the first of three layers, and it should be applied thick enough to cover the basecoat. The wall will be removing the water from the Tadelakt very quickly, and it will be getting firm quickly. Cover the entire wall in this way first before applying your next layer. Once the whole wall has lost its wet sheen but before it starts to turn lighter in color, apply your second layer of Tadelakt working to smooth the wall more and create more of a build and add more moisture to the wall. At this stage, you will find the plaster is spreading more easily and you want to be closing the pores and creating a very smooth surface.
You can use any excess plaster that is still wet on the surface to start smoothing or even burnish lightly in places if the areas are closed and smooth. Once this layer is hard to the touch and lost its sheen, apply the last layer of Tadelakt with the small plastic or metal trowel adding more pressure, burnishing and closing all pores and holes etc creating a very smooth polished layer. As this layer dries more and more, you can choose to polish with the plastic or steel trowel, or your burnishing stone if you think it can handle it. Do not use the stone on areas that are too wet to receive a lot of pressure without plaster moving around. If you apply too much pressure too early the plaster can come off the Basecoat due to excessive forces.
There should be a cream that forms on your trowel and you can continuously reapply this cream layer to the wall to close and fill all voids etc on this third layer of Tadelakt.
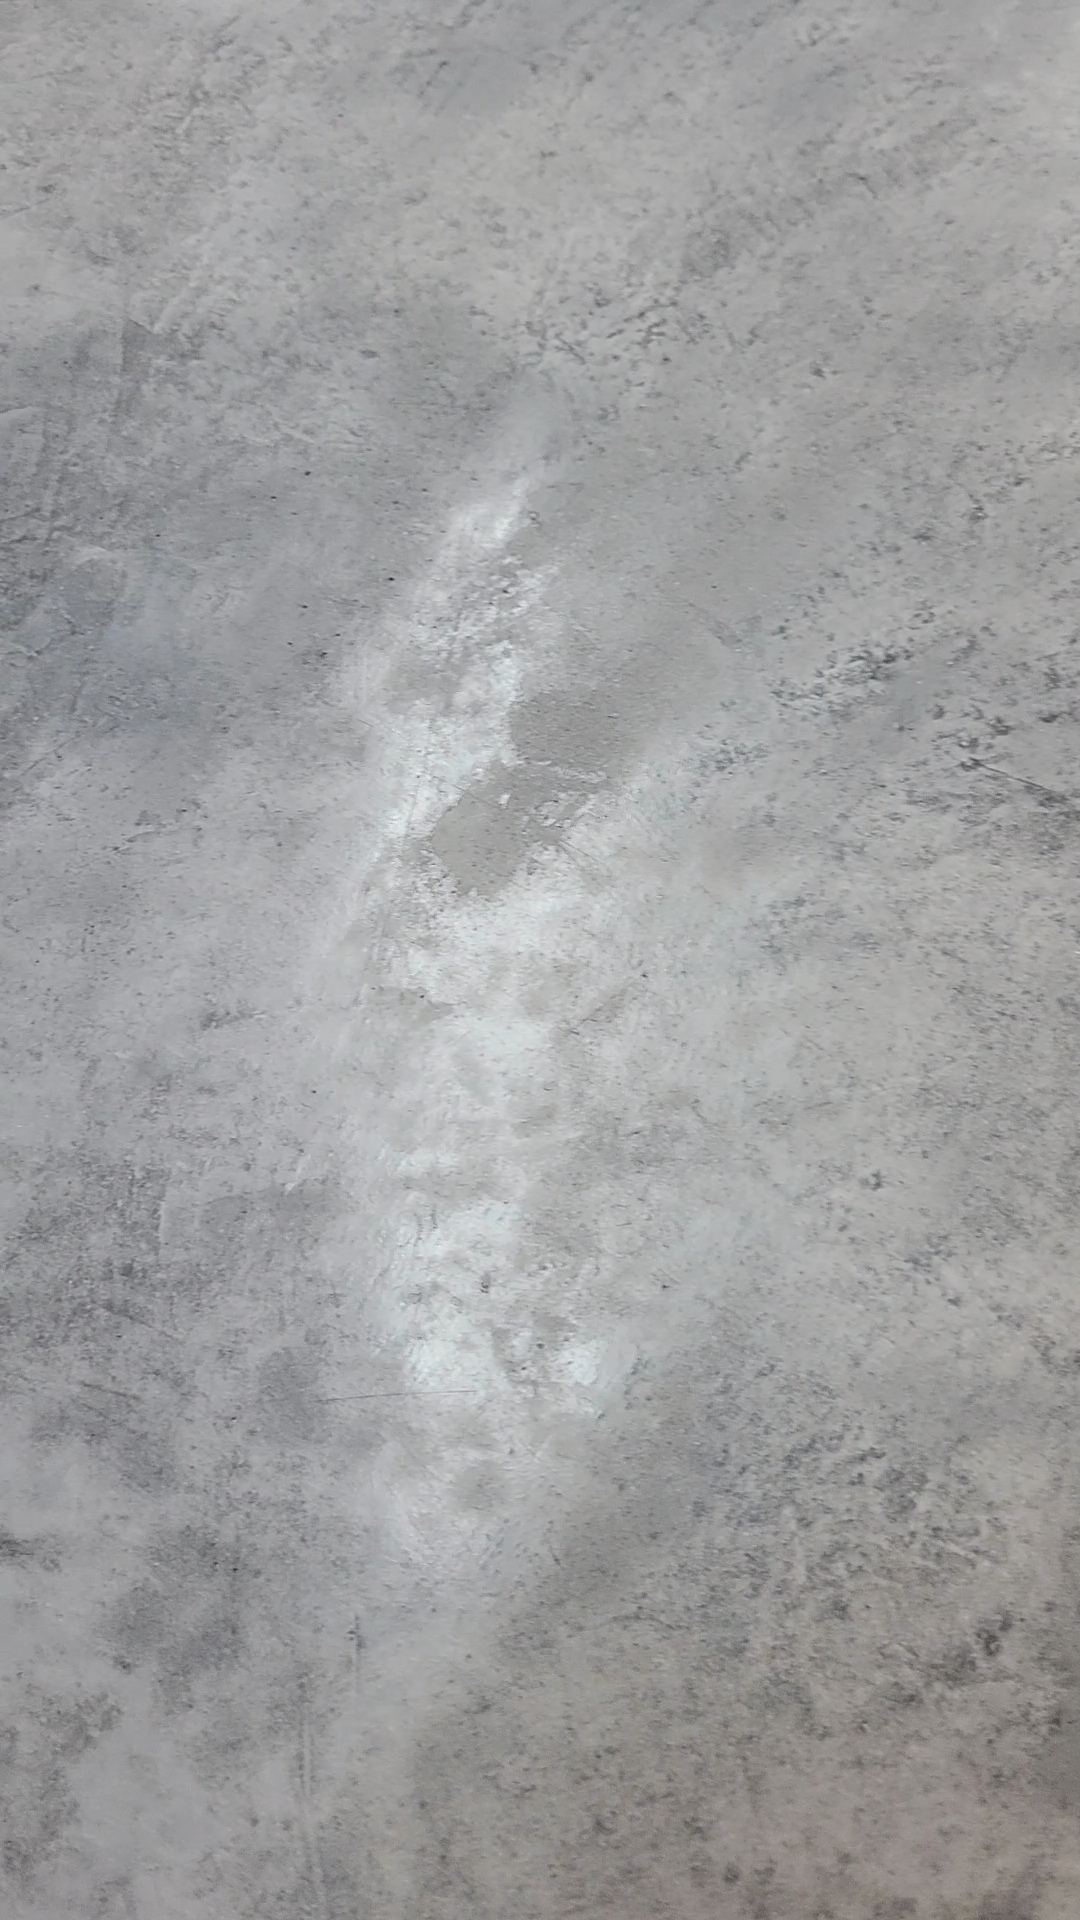
As the Tadelakt continues to dry, keep burnishing with the steel and plastic trowel and stones until the plaster is shiny and polished. This can take only an hour or two or several hours depending on the conditions of the work site.
You can rehydrate the plaster in areas with just a little mist of water to bring some cream to the surface to fill in voids.
Using hard plastic bondo spreaders can create an even more intense polish and shine once the Tadelakt is around 75% dry. Clean clear plastic bags etc can be used to form a plastic ball to burnish, and the burnishing stones can be used for the final smoothing. I find the stones work great for the last polish to really get all the areas compressed and burnished as the surface is not perfectly flat and that trowel is not able to do a great job on every pore and inch of the Tadelakt.
The stone should be used in circular motions to specifically close and polish areas of the wall, slowly working over the entire surface compacting and pressing firmly to smooth the Tadelakt and create as much of a compact and closed surface as is possible. It is very important to ensure the Tadelakt is dry enough as if there is any denting or pulling, or movement in the plaster itself it is too early to use the stones.
The next day once the Tadelakt is mostly cured, you can begin the process of sealing with either Dr Bronners unscented liquid soap, or our Black olive oil soap. I have tested both and they work nicely, but the dark soap obviously will add a lot of color to lighter plasters so I tend to recommend using the Dr Bronners on lighter colors and the black soap on darker shades. Make sure you apply soap the next day and do not wait too long as you want as much unreacted lime in the wall to combine with the soap before it starts to carbonate too much.
Mix Bronners soap to 1 part soap to 6 parts water and apply this from the bottom up 3 times using a sponge and paint brush, micro roller etc. If you are using the Olive soap dilute 1 part soap to 12 parts water. You can burnish the wall more at this point with the trowel or stones to get any areas you have missed. Repeat this process another two times and allow to dry fully until the next day. Wipe any excess soap off the surface with a microfiber rag before leaving for the day.
When applying the soap have a medium size bucket mixed with the liquid and use a whisk to create a foam or high speed drill mixer etc. The foam is what should be applied to the wall and not the liquid for the first day of soaping. This will ensure less water reaches the Tadelakt and more foam which seals the plaster much more efficiently.
The following day, apply the soap at 1 part soap to 1 part water for Bronner, or 1 part soap to 6 or 10 parts water for black soap and apply to the walls and rub it in with your hands. You can also dilute the Olive oil soap with only 30% water and use this as a very concentrated version if you find it works more to your liking but it will darken the plaster more. Do not polish or work the surface any more at this point, just allow the soap to be rubbed in with your hands and wait for it to be fully absorbed by the plaster. Repeat this two more times and leave the soap on to absorb and do not wipe it off.
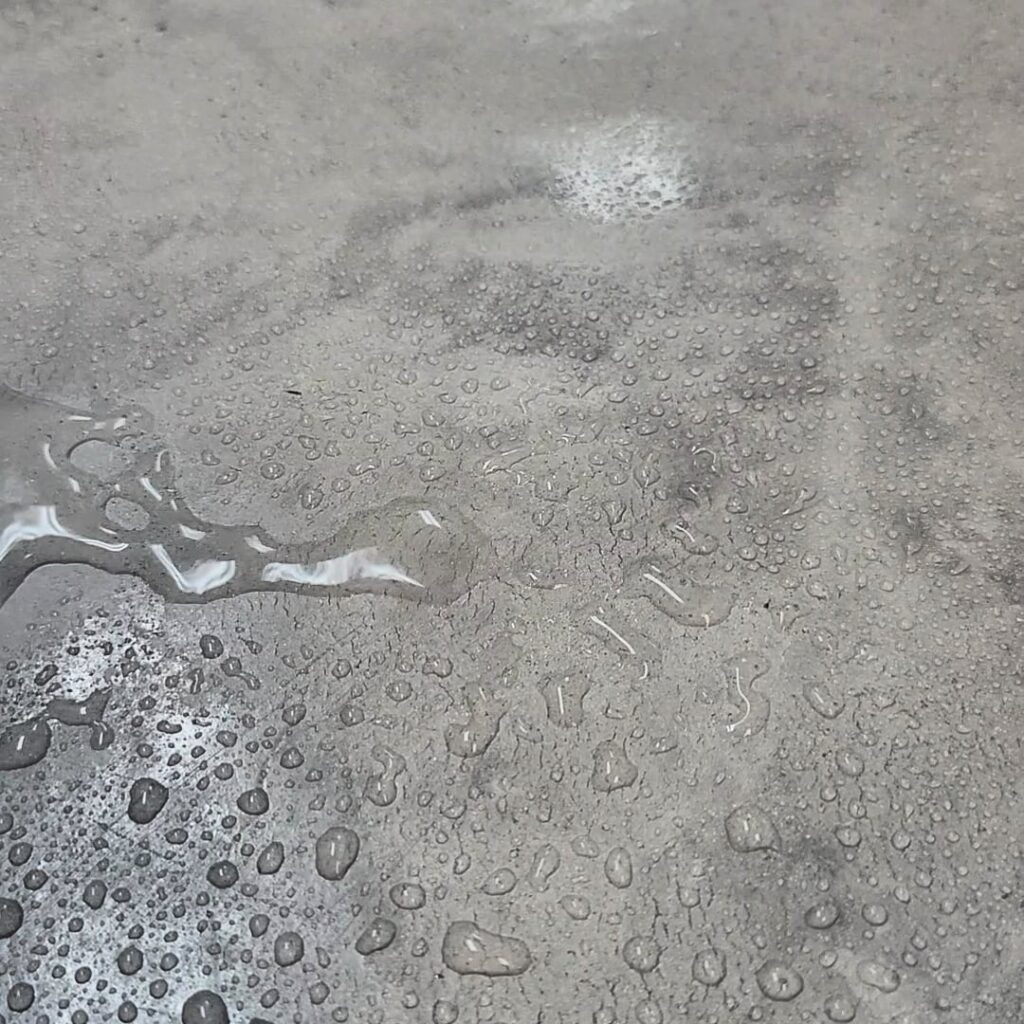
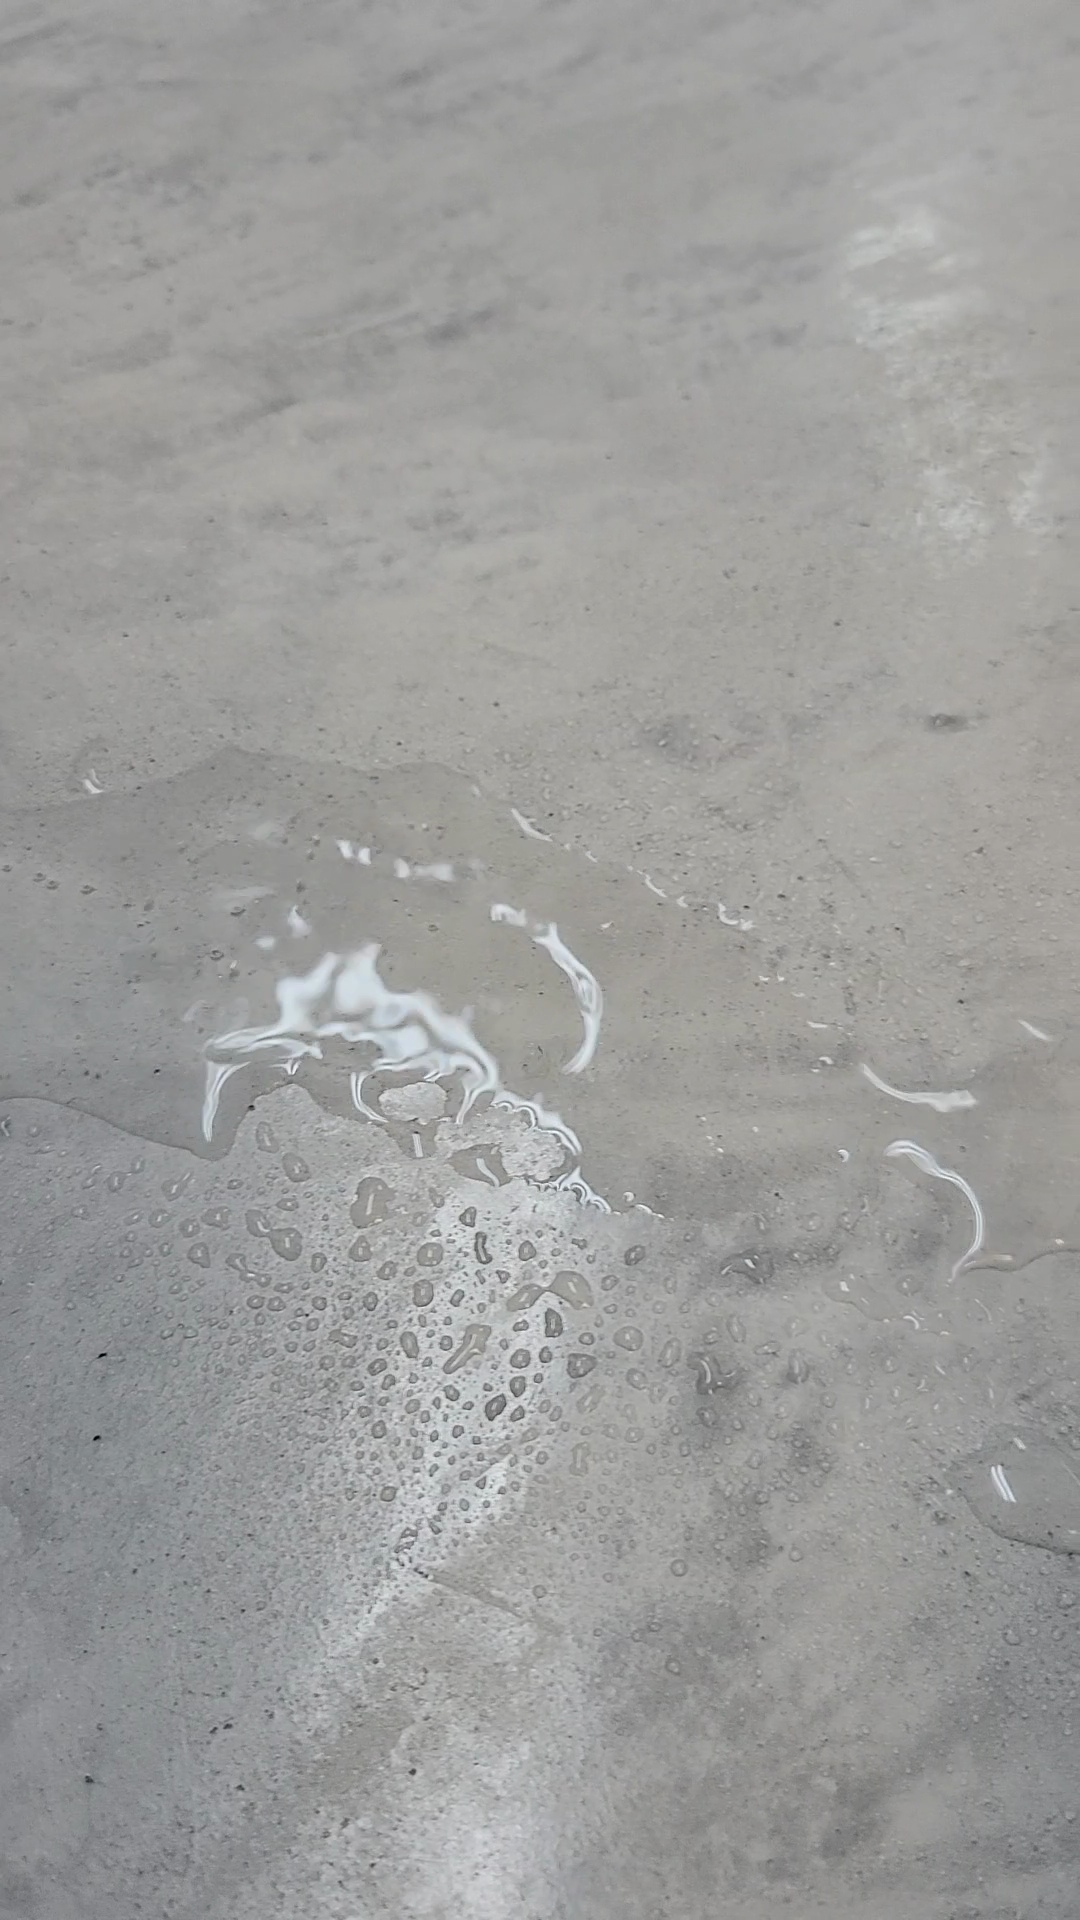
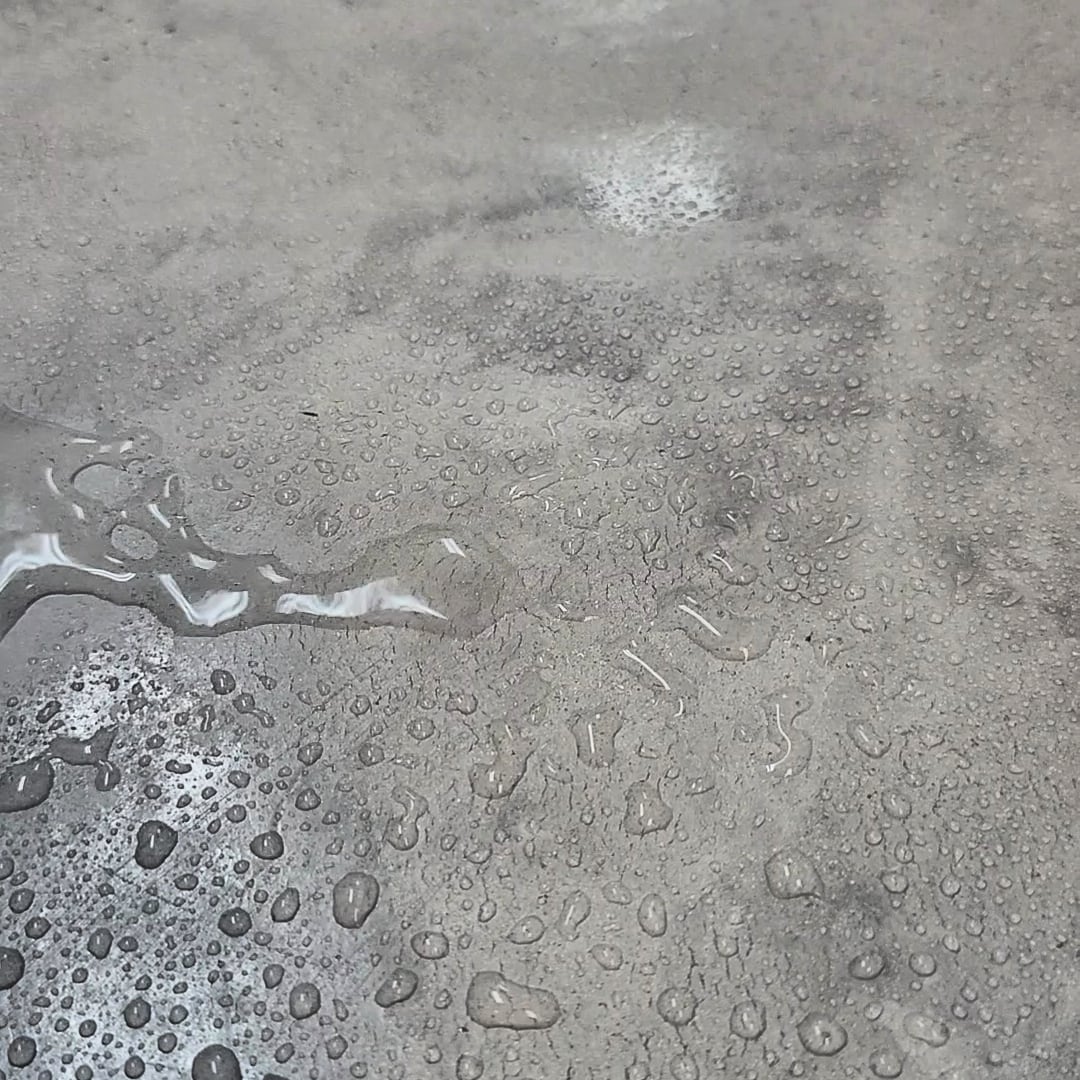
The following day you can polish and wipe the walls clean with a microfiber rag, cut polisher with a wool bonnet etc and leave for 5 days to fully cure and dry. Before leaving check some areas by spraying some water on the walls and testing to see if any areas are getting wet. The water should bead off the plaster without many areas showing water droplet marks etc. If you feel like it needs more soap you can always add more as many times as you like over the following days. The more soap and more times you apply the harder and more sealed the product will become. Do not expose to excessive water during this time or actually use the shower etc. I find the Tadelakt will become more waterproof as it cures and usually takes a week or two before the water will properly bead on the product.
Our oil-based wax can be applied to the Tadelakt after a min of 5 days, although if it can be left 2 or even 4 weeks to cure as this will be the best scenario. Wax is not absolutely necessary in wet areas but the Tadelakt will be prone to stains from any soaps used in the shower as the soap will continue to react with the Lime and can darken areas a lot. The Tadelakt does function well without wax and will continue to harden and waterproof with the soap as you clean the surface, but it can patina and stain a lot in areas as it is only waterproof and not resistant to any fats or oils etc.
You can apply our oil-based wax after a min of 5 days drying time, and this will help to block the oils and fats from being able to stain the Tadelakt. It is best as an applicator to try both systems and develop your own opinions on what is best for you and your clients.
Apply the Oil based wax with a rag over the entire wall, floor etc and polish with microfiber rag or wool bonnet cut polisher. Apply two layers of the wax polishing between each coat.
COLORANTS: Plaster can be tinted with our line of dry pigments as per our VP color chart.
DELIVERY, STORAGE AND HANDLING: Keep materials away from direct sunlight. Store them in original, unopened packages in a dry, dark location at temperatures between 45 and 95 degrees F. Always wear OSHA-compliant eye protection. Wear a respirator to mix, sand or scrape the product. Work only in well ventilated areas. Avoid prolonged skin contact. Avoid working with the material in temperatures below 41 degrees F or above 96 degrees F. Keep away from children. Do not use products older than 2 years. Always test an older product before use to ensure its quality. Read the entire MSDS and product labels.
MIXING: Our dry mix plaster can be mixed to different consistencies depending on the finish you are applying. In the case of basecoat finishes, you would want the mix to be more stiff and with smooth polished finishes the mix should be more wet and thin. Start slow and never add more water than you need at the start, as the mix can become too wet. When using our dry pigments first add them to 1/3 of your mix water and mix with a drill for 1 minute to ensure it is mixed entirely. It is possible to strain the water through a fabric paint strainer as well prior to adding plaster to the water.
If adding all the dry pigment first to the plaster in the case of very large applications, then it is best to mix the product very well and do some tests first to see if the pigment is fully mixed or not.
When mixing, always have some water in the bottom of the bucket first, as this helps in mixing and not getting dry plaster stuck to the bottom of the bucket. It is best to mix the plaster in two buckets broken up first and then combine after mixing and do a final mix so the color is mixed thoroughly. You should use a high speed drill, such as a Makita hammer drill that has a max RPM of 2000. If you use a mixing spade to get the initial mix together, then always use a higher rpm hammer drill after as this faster speeds allow for a vortex to be created and ensures a uniform mix. The plaster will not mix entirely without a higher RPM drill.
POT LIFE: The Tadelakt Adhesion coat will set and has a pot life of roughly 60-180 minutes depending on water temperature, exterior conditions etc. The Tadelakt Basecoat and Tadelakt will start to set in a few weeks and should be used within a week or two of mixing.
MAINTENANCE: Tadelakt will not require much cleaning and no harsh chemicals or acidic cleaners should ever be used. It is important to only use the same soap you sealed the Tadelakt with to clean it and nothing else. You can apply more wax anytime you feel like the walls need more waterproofing or cleaning etc, and the wax and polish will clean the walls and add a new layer of fresh wax and the solvents in the wax itself will help to clean the previous wax layer. Repairs can be made but usually you will notice the patch as matching the color and having it feather together is too difficult with Tadelakt to accomplish. It is best to try and not chip edges or drop heavy objects etc damaging the product.
To order materials, go to shop5starfinishes.ca